Hey, friends and friendly strangers! I’ve fallen off the blogging bandwagon a little bit, but here’s my attempt at climbing back on.
I spent a lovely day and a half with the inspiring Kim of Hello Kim Win over the weekend, and I told her how much I’ve been enjoying her brief, more personal updates in her blog. She helped me see the obvious — why not try that here, too? We talked about how bloggers seem to always try to be ebullient, showcasing beautiful lives. I know that I don’t exactly do that here (I really do try to keep it real with recipes), but it’s definitely true that I only post about the struggles that I think are amusing. And I don’t intend on changing that in a major way, but I do think an occasional foray might be good.
In short, I’m trying to lose some weight and get healthier. It’s so simple and silly now that I type it out, but it’s something that’s been surprisingly hard for me to talk about. But, that’s it. It threw me for a loop in the beginning, really. A big part of this effort is, of course, cutting down on calorie-heavy meals — and I’m an aspiring food blogger; how am I supposed to do that? It felt a little bit like losing my identity. A month in, I’m realizing how overblown that reaction was. I still eat, and I cook more than ever, so I can be sure of what I’m eating. I would warn you to expect healthier posts here, but I’ve still got a backlog of some indulgences (and still make them now from time to time), so I can’t even say that. I mean, I’m following this rant with risotto.
That’s enough seriousness for now, right? Onto the risotto. Don’t worry, though, because these poorly-lit photos (and random paper crumpled paper towel) don’t exactly qualify as making my kitchen seem all that beautiful.
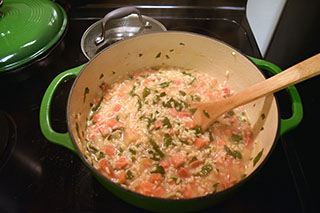
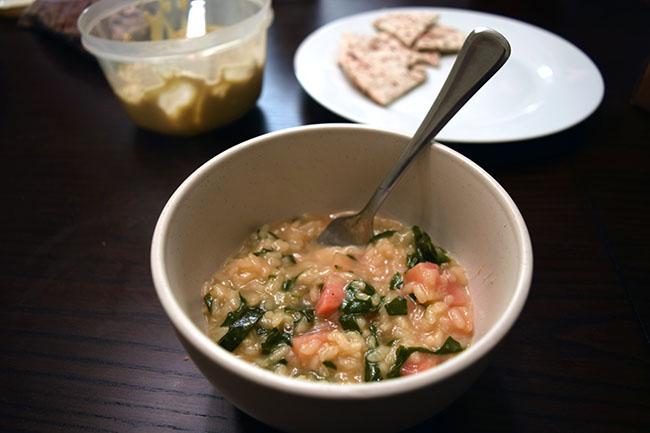
Beet risotto is a bit of a compromise dish, sure, but it’s actually good. It’s not quite the same as a luscious, creamy risotto, nor is it quite as earnest as beets and greens, but in this case, I think the middle ground works. It feels almost reasonable to have as a meal, and I like that it uses the beet greens, which admittedly, I often throw away.
Risotto with Roasted Beets and Greens
From NYT
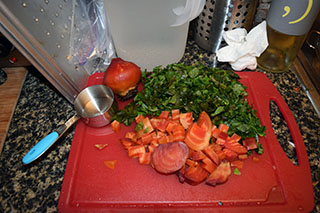
3/4 pound beets (1 small bunch)
1 bunch beet greens, stemmed and washed
6 to 7 cups vegetable stock, as needed
2 tablespoons extra virgin olive oil
1/2 onion
1 1/2 cups Arborio rice
2 garlic cloves,
1/2 cup red, rose, or dry white wine
Salt and pepper
Small handful of Parmesan cheese, grated
Preheat the oven to 400˚F. Separate the beets and the leaves (wash and de-stem the leaves later). Wrap the beets in aluminum foil individually, place on a baking sheet, and let roast in the oven for 40 minutes to an hour. They are done when you can poke them easily with a fork or knife. Unwrap and let cool enough to handle. Use paper towels to wipe off the peels — it sounds impossible but is easy once they are roasted. Slice into small cubes.
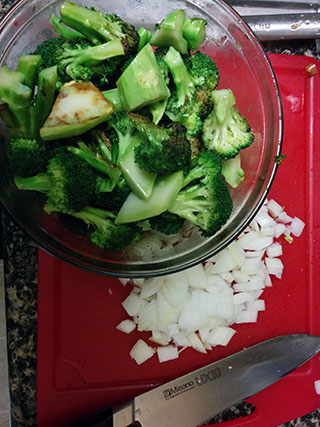
Finely dice the onion and mince the garlic.
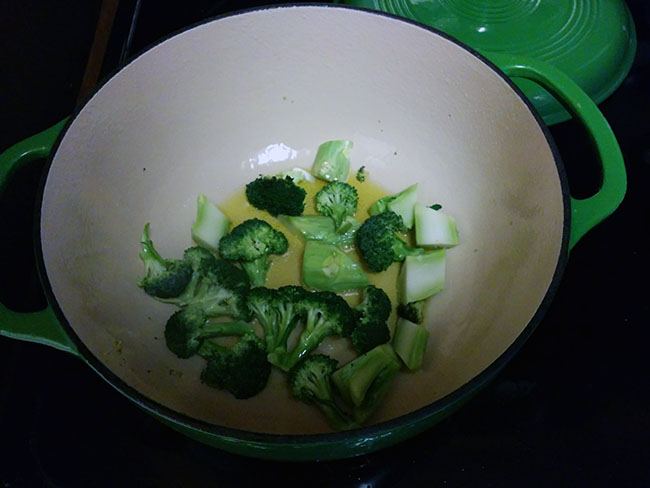
Heat the oil in a large pot until shimmering. Add the onion, garlic, and if you’ve kept ’em, finely chopped beet stems. Cook until the onion is translucent and fragrant. Add the rice, continuing to stir, until it smells slightly toasty.
Add the wine and bring to a simmer. Stir occasionally.
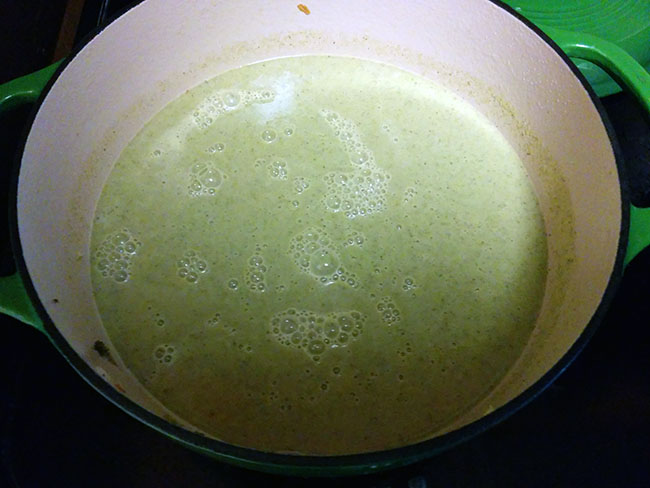
When the wine looks mostly absorbed, start adding the broth, about a cup at a time. Stir occasionally, watching for burning. (The tradition is to stir risotto constantly, but I’ve found this to be largely unnecessary. Just keep an eye on it and give it the occasional stir while you get other things done.)
Keep adding the stock when the previous addition’s been absorbed. Cook until the risotto is just a bit firmer than you like. Stir in the beets and greens and let them warm through for about 10 minutes. This will also allow the flavors to combine.
When the rice is the texture that you like, stir in a bit of Parmesan cheese or cream (both optional), season with salt and pepper, and serve immediately.